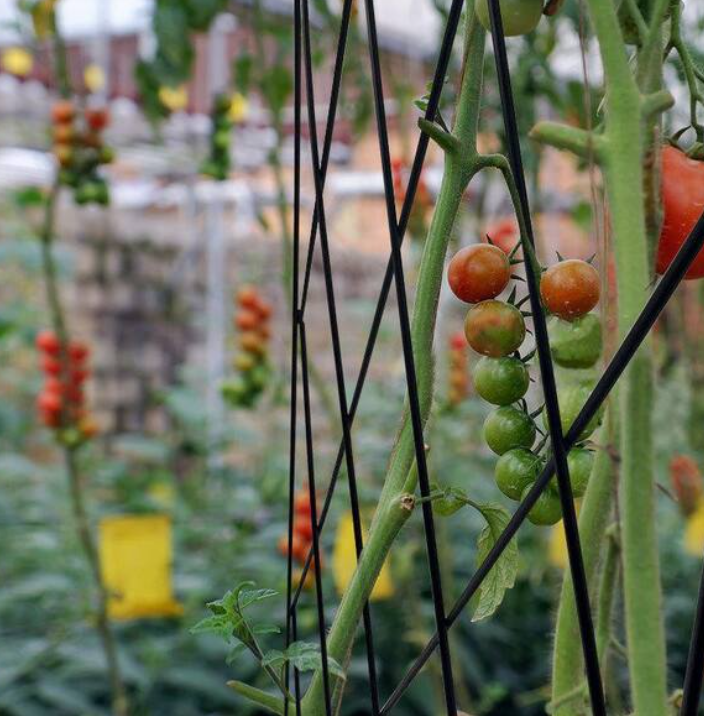
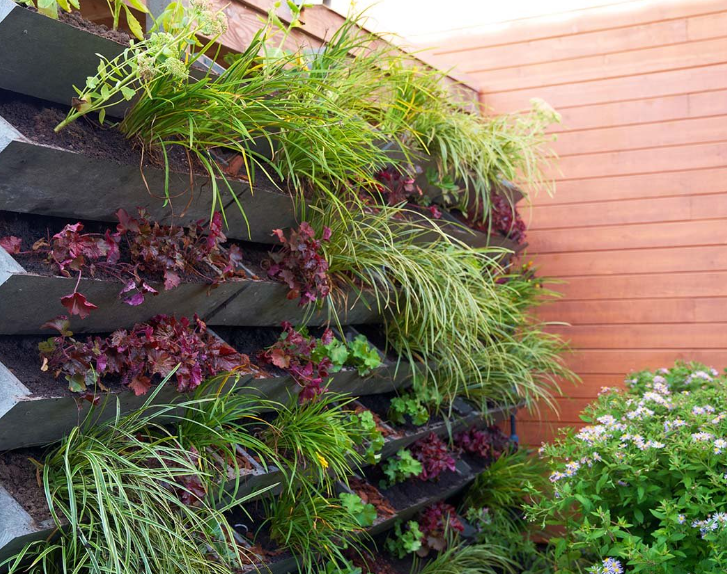
Climbing plants like peas, beans, tomatoes, and flowering vines can bring vertical beauty to your garden, but they need support to thrive. A garden trellis is the perfect solution, providing structure and helping plants grow upwards, saving space while adding charm and elegance to your garden. Building a DIY trellis is a simple project that can be tailored to your garden’s needs and style, whether you’re looking for a rustic wooden design or a modern, minimalist structure.
Why Use a Garden Trellis?
A trellis serves as both a functional and decorative element in your garden. By supporting climbing plants, it helps keep the plants upright, prevents them from sprawling on the ground, and makes harvesting easier. Additionally, a well-placed trellis can create vertical interest, turning bare walls, fences, or gates into green, living structures. It also helps improve airflow around plants, reducing the risk of disease by keeping foliage off the ground.
Materials You’ll Need:
Wooden stakes, bamboo poles, or garden fencing (for the frame)
Twine, wire, or garden mesh (for the plant support)
Screws, nails, or staples (for assembly)
Saw (if needed to cut materials)
Drill or hammer
Measuring tape
Optional: Paint or wood sealant (for added durability and design)
Step-by-Step Guide to Building a Simple Trellis:
Plan Your Design Before starting, decide what kind of trellis you want to build. The most common designs are:
A-frame trellis: A freestanding, triangular frame that works well in vegetable gardens or flower beds.
Ladder trellis: Vertical slats arranged like a ladder, ideal for vines or climbing flowers.
Panel trellis: A flat, rectangular design that can be attached to walls or fences.
For this guide, let’s create a simple ladder-style trellis.
Gather Materials For a basic ladder trellis, you’ll need two vertical wooden stakes (about 6 feet long) and several horizontal slats (wooden boards or bamboo poles). The number of slats will depend on the height and width of your trellis.
Build the Frame Start by placing the two vertical stakes about 4 feet apart, ensuring they are straight and upright. Secure them by either driving them into the ground or fixing them to a sturdy base (like a fence or wall) if you want a more permanent installation. If you’re setting it up in a garden bed, simply insert the stakes into the soil about 6-8 inches deep for stability.
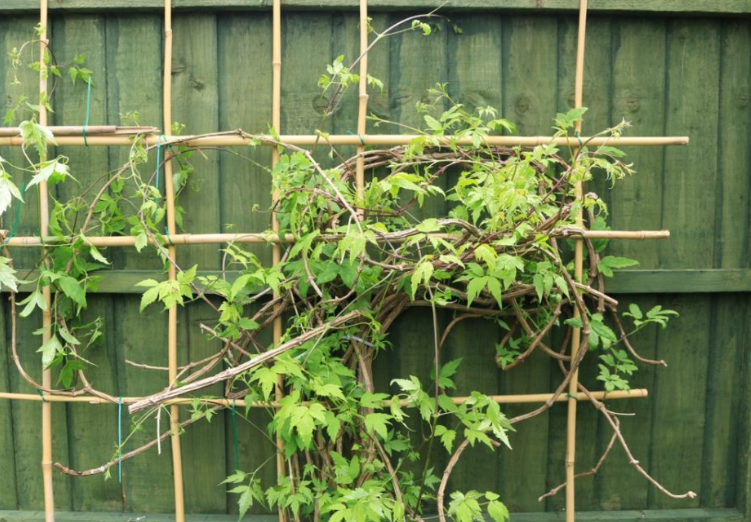
Attach the Horizontal Slats Take your horizontal slats (cut to your desired width) and attach them evenly across the vertical stakes. Leave enough space between each slat to allow your plants to climb through. For a more rustic look, you can vary the spacing, or if you’re looking for a more uniform design, keep the slats at equal intervals. Use screws or nails to secure the slats to the vertical stakes, making sure everything is tightly fixed.
Add Support for the Plants Once the frame is complete, it’s time to add some form of support for your climbing plants. You can use twine, wire, or garden mesh to create a grid-like structure for the plants to latch onto. Simply wrap the twine horizontally and vertically around the slats or tie it to the frame, ensuring it is taut and well-distributed. For vines or flowers, consider adding additional twine along the sides to create extra support for horizontal growth.
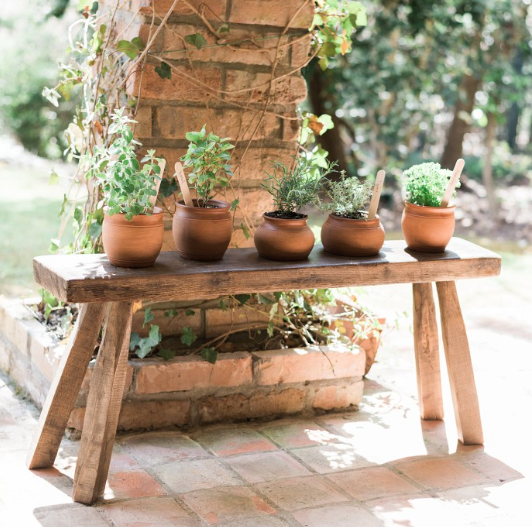
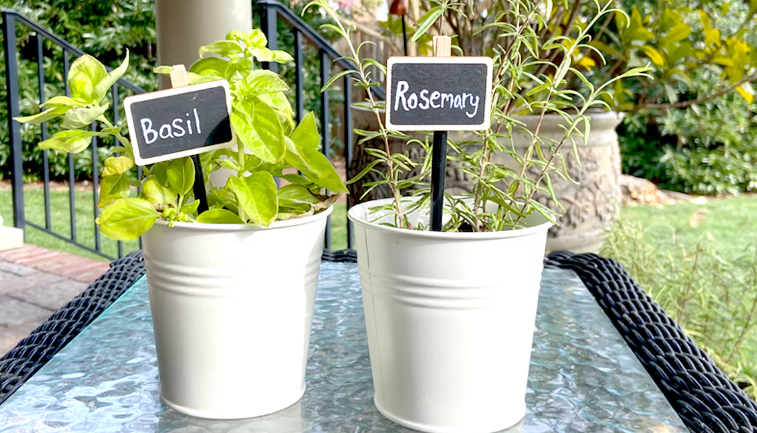
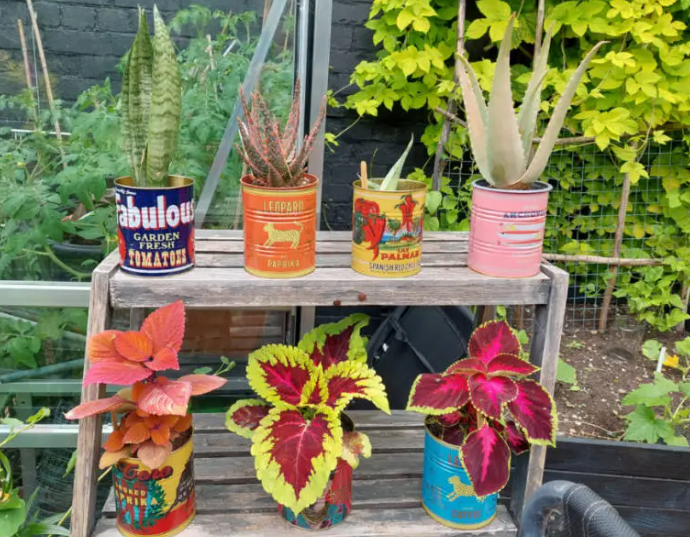
Optional – Finishing Touches To protect the wood from the elements, you can paint or stain the trellis for added durability. If you prefer a more natural look, applying a wood sealant will help preserve the wood without altering its color. You can also decorate your trellis with climbing plants in decorative pots for a touch of personality.
Planting and Maintenance Tips:
Planting: After your trellis is set up, plant your climbing plants at the base of the trellis. Gently guide the vines or stems toward the trellis to encourage them to climb. Most climbing plants will naturally seek support as they grow, but occasionally help them by tying them to the trellis as they grow.
Watering: Be sure to water the base of the plant regularly, but avoid over-watering, as wet leaves can lead to mildew and rot. Drip irrigation or a soaker hose can be useful for vertical gardens.
Pruning: Trim back any overgrowth to keep the plant growing neatly and to prevent overcrowding.
Benefits of a DIY Garden Trellis:
Space-saving: Vertical gardening frees up space on the ground, allowing you to grow more in smaller areas.
Aesthetic appeal: A well-placed trellis can become a focal point in your garden, adding texture, height, and a touch of charm.
Improved plant health: Elevating climbing plants on a trellis reduces the chance of disease and pests that thrive in damp, crowded conditions.
