As any gardener knows, proper plant identification is essential for care and organization. Whether you’re growing vegetables, herbs, or flowers, labeling your plants with DIY garden markers is a simple and creative way to keep track of your plants while adding a personal touch to your garden. Instead of purchasing expensive pre-made markers, you can repurpose everyday items to create functional and unique labels that reflect your style. Below are several creative ways to make your own garden markers using easily available materials.
Why Use DIY Garden Markers?
Garden markers not only help identify plants but also serve as a practical guide for when to water, fertilize, or harvest. Using DIY markers offers several advantages:
Cost-Effective: Making your own markers is an inexpensive alternative to buying store-bought versions.
Personalized: You can customize your markers to suit your garden’s aesthetic or make them a fun project with kids.
Sustainable: By repurposing items you already have around the house, you reduce waste and create an eco-friendly solution.
Materials You Can Repurpose:
Popsicle sticks: A classic and simple material, perfect for labeling garden beds or pots.
Rocks or Stones: Large, flat stones can serve as rustic markers for outdoor gardens.
Old silverware: Repurpose old spoons, forks, or knives to create quirky, durable markers.
Wine corks: If you’re a wine enthusiast, corks can make great rustic markers.
Wooden branches or twigs: Thin branches can be cut to size and used for a natural, earthy touch.
Painted Wooden Spoons: Old kitchen spoons can be painted and repurposed as garden labels.
Plastic cutlery: Disposable plastic forks or spoons can be upcycled into inexpensive and long-lasting markers.
Creative Ways to Make DIY Garden Markers:
Popsicle Stick Markers: Popsicle sticks are one of the easiest and most affordable materials to work with. Simply take a few sticks, paint or label them with the plant’s name using a permanent marker. For added decoration, you can paint designs, patterns, or use stencils for more detail. To make them more weather-resistant, coat the sticks with a layer of clear acrylic spray or mod podge to protect the ink from fading in the sun.
Repurposed Silverware: For a quirky and durable option, repurpose old silverware into garden markers. You can bend spoons into a “U” shape or use forks as stakes to push into the soil. Etch or engrave the plant’s name onto the spoon or fork with a metal engraving tool, or simply use a permanent marker. The rustic, vintage look adds character to any garden.
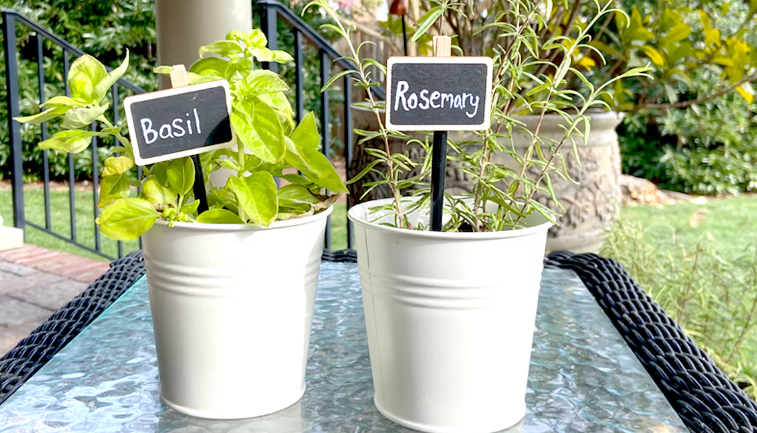
Wine Cork Garden Markers: Wine corks are perfect for labeling small pots or garden beds. To create these markers, simply stick a wooden skewer or thin dowel into the cork. You can either handwrite the plant name directly on the cork with a permanent marker or use small wooden plaques to attach to the cork for a more refined look. Wine cork markers are especially great for herbs or potted plants.
Stone or Rock Labels: If you have access to flat, smooth stones, they can serve as durable and rustic markers. Paint the plant’s name on the stone using outdoor paint or permanent markers. The natural look of the stone fits perfectly with vegetable gardens or flower beds, adding a touch of organic charm. Larger stones can be placed near groups of plants, while smaller ones work well for individual labels.
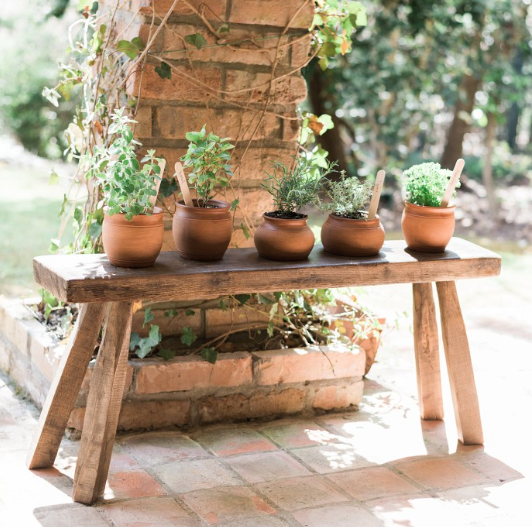
Painted Wooden Spoons: Old wooden spoons can be upcycled into functional and charming plant labels. Paint the spoons with bright colors or use chalkboard paint to allow you to write and erase the plant names as needed. This is especially useful for annuals or plants that change seasonally. You can also decorate the spoon handles with patterns or illustrations for a creative touch.
Twigs or Branches: For a truly natural look, cut thin twigs or branches into small segments. Write or carve the plant’s name on the surface with a fine-tip marker or carving tool. To make the labels more durable, you can seal them with clear varnish or outdoor sealant. These markers blend beautifully with garden beds, especially in rustic or woodland-themed gardens.
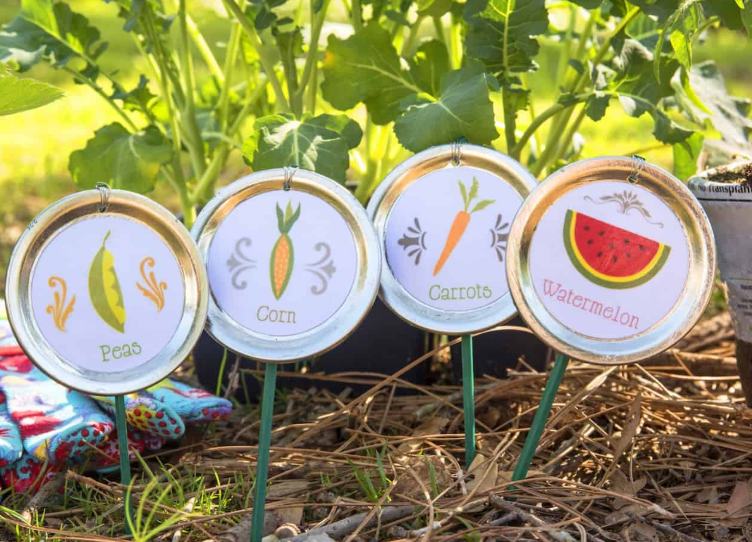
Tips for Long-Lasting Labels:
Weatherproofing: To ensure your DIY markers last through the seasons, consider weatherproofing them. Use a clear acrylic spray or varnish to protect the materials from fading, rain, and UV damage.
Ink or Paint: Choose permanent markers, outdoor paints, or paint pens to prevent the labels from washing away with water or fading in the sun.
Labeling Method: If you have many plants in your garden, you can color-code the labels based on plant categories or growing seasons, making it easier to identify them at a glance.
