Building a garden bench from reclaimed wood is an excellent way to create a functional and stylish piece of outdoor furniture while giving new life to old, discarded materials. Not only will you reduce waste, but you’ll also save money and add a unique, rustic charm to your garden. Whether you’re a seasoned DIY enthusiast or just starting out, creating a garden bench with reclaimed wood is a rewarding project. Here’s a step-by-step guide to building your own garden bench from reclaimed materials.
Why Choose Reclaimed Wood?
Reclaimed wood is wood that has been salvaged from old structures such as barns, fences, or furniture. Using reclaimed wood offers several benefits:
Eco-Friendly: It reduces waste and prevents wood from ending up in landfills.
Cost-Effective: Often available for free or at a low cost, reclaimed wood is an affordable option.
Character and Charm: Reclaimed wood adds a rustic, weathered look that new wood can’t replicate.
Durability: Many reclaimed woods, such as oak or pine, are dense and durable, making them perfect for outdoor furniture.
Materials You’ll Need:
Reclaimed wood: Look for old pallets, shipping crates, or discarded furniture (approximately 10-12 pieces depending on size).
Saw: A circular or hand saw for cutting the wood to size.
Drill: To make pilot holes and drive screws.
Wood screws: For assembling the pieces.
Measuring tape and pencil: For accurate measurements and markings.
Wood glue: Optional, for extra stability.
Sandpaper or sander: To smooth rough edges.
Outdoor wood finish or sealant: To protect the wood from the elements.
Optional: Cushions or fabric for added comfort.
Plan Your Design Before you start, decide on the size and style of your bench. A standard garden bench is usually about 18–20 inches high and 16–20 inches deep, but feel free to adjust the dimensions based on your space. Sketch your design and make a list of the reclaimed wood pieces you’ll need.
Prepare the Wood Reclaimed wood often comes with imperfections such as nails, screws, or paint, so start by removing any hardware from the pieces. Use a hammer or pry bar to remove nails, and then sand the wood to smooth out rough edges and surfaces. You can choose to leave some of the natural imperfections for a rustic look, or clean the wood thoroughly for a more polished finish.
Cut the Pieces Measure and cut your reclaimed wood into the following pieces:
Seat slats: These will form the top of the bench. Cut them to your desired length (around 48 inches is typical for a 2-3 person bench).
Leg supports: Cut four pieces for the legs. Two should be the height of your desired bench (typically 18 inches), and the other two should be slightly longer for the frame underneath.
Side supports: Cut two pieces to connect the legs and form the sides of the bench.
Assemble the Frame Start by assembling the side supports with the legs. Use screws to attach the legs to the sides, ensuring everything is level. If necessary, add wood glue to the joints for added strength. Once the legs are attached to the side supports, connect the two sides with the front and back frame pieces.
Attach the Seat Slats Place the seat slats across the frame. Space them evenly, leaving a small gap between each slat for water drainage. Screw each slat into the frame, securing them tightly. If you prefer, you can use wood glue in addition to screws for extra stability.
Sand and Finish the Bench Once the bench is assembled, sand the entire piece to remove any rough edges or splinters. Pay close attention to the seat and edges, as these areas will be in direct contact with people. After sanding, apply a coat of outdoor wood finish or sealant to protect the wood from the elements and ensure the bench lasts for years.
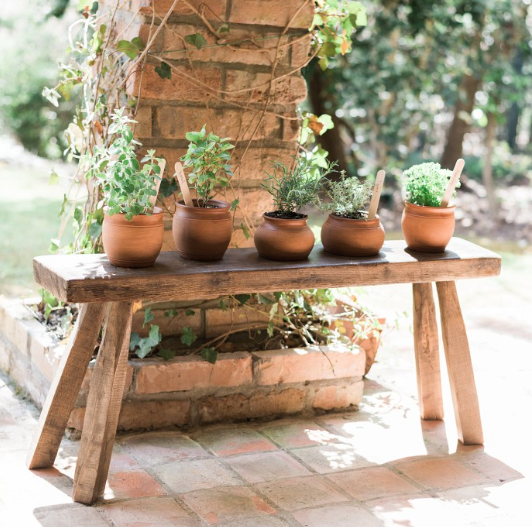
Add Cushions or Decoration (Optional) To make the bench more comfortable, consider adding outdoor cushions or fabric. You can either purchase ready-made cushions or sew your own covers using weather-resistant fabric. If you like, add decorative touches such as throw pillows or small potted plants around the bench to complete the look.
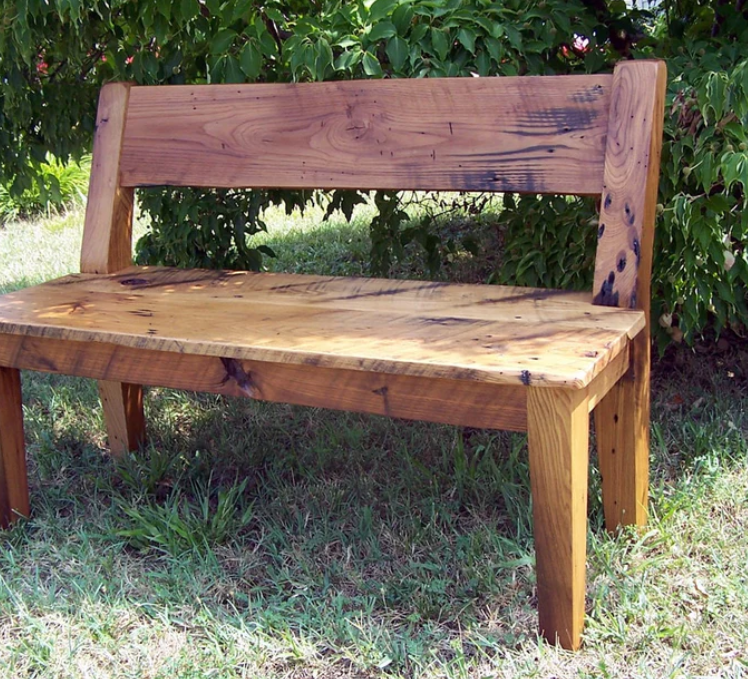
Tips for Success:
Check the wood for nails: Reclaimed wood can contain old nails or staples, so be sure to check and remove them before cutting or sanding.
Stabilize the bench: Ensure all joints are securely fastened, especially the legs, to prevent wobbling.
Consider the weather: Since the bench will be outside, choose a durable wood like oak or cedar. Use a weather-resistant finish to protect the wood from sun, rain, and snow.
Measure twice, cut once: Accuracy is key, so always double-check your measurements before cutting.
