Caring for plants involves many tasks, and one of the most critical is ensuring they receive the right amount of water. While hand-watering can be effective, it’s time-consuming, especially for a large garden or a collection of indoor plants. A DIY irrigation system can save time and water, delivering consistent moisture to your plants without the hassle. Whether for indoor or outdoor plants, creating an automated irrigation system is simpler than it may seem and can be done with just a few basic materials.
Materials You’ll Need:
PVC or flexible tubing: This is the primary conduit for carrying water to your plants.
Drip emitters or soaker hoses: These help distribute water directly to the plant’s roots.
Timer (for outdoor systems): This automates the watering schedule.
T-connectors and elbows: These help connect various pieces of tubing and create the layout you need.
Water source: For outdoor plants, a garden faucet; for indoor plants, a large water reservoir or an existing tap.
Clamps or stakes: These hold the tubing or hoses in place.
Step-by-Step Guide:
Plan Your Layout
Start by assessing the watering needs of your plants. For outdoor gardens, identify the areas that require the most water. For indoor plants, determine where you want to place your irrigation lines—perhaps near a window or on a shelf. Measure the distance from the water source to your plants, and plan where each hose or emitter will go.
Install the Main Tubing
For both indoor and outdoor systems, start by connecting your PVC or flexible tubing to the water source. Outdoor systems can connect directly to a garden faucet, while indoor systems may require a water reservoir placed higher than your plants to allow gravity to assist the flow.
Attach Drip Emitters or Soaker Hoses
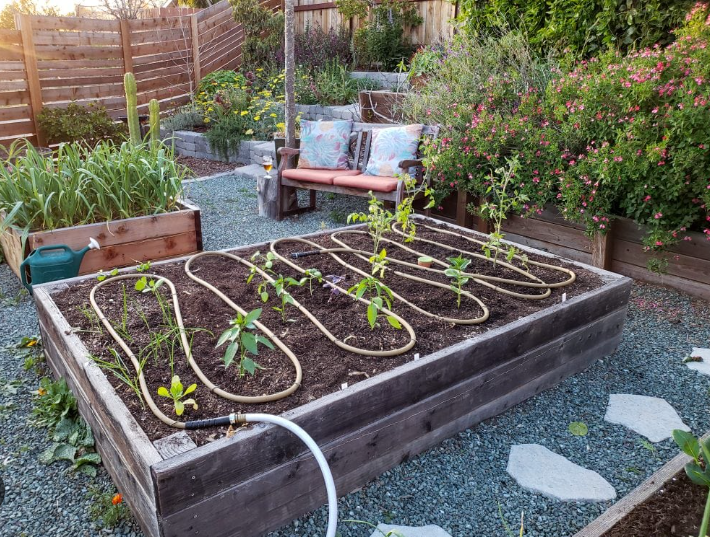
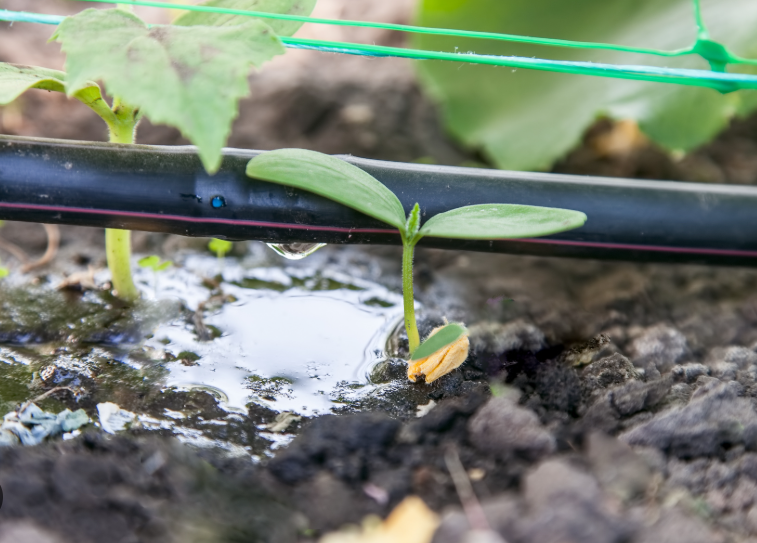
Drip emitters release water slowly and precisely at the base of the plant, while soaker hoses allow water to seep out along the length of the hose, ideal for covering more area. For a small indoor setup, individual drip emitters connected by tubing can be placed at the base of each plant. In larger outdoor gardens, you can lay soaker hoses along the rows of plants.
Secure the Tubing
Use stakes or clamps to secure the tubing or hoses in place. For outdoor setups, ensure the tubing is placed close to the base of the plants to minimize evaporation. For indoor systems, you may want to hide the tubing along the edges of shelves or plant stands to keep things neat.
Add a Timer (for Outdoor Systems)
If you’re setting up an irrigation system for your outdoor garden, consider adding a timer to automate the watering schedule. Set it to water your plants early in the morning or late in the evening to reduce evaporation and ensure deep soil penetration. For indoor systems, you can manually water your plants or connect to a smart irrigation controller if desired.
Test and Adjust
Once everything is connected, turn on the water and check the system. Ensure that all emitters are functioning properly, and water is being distributed evenly. Adjust the flow rate or placement of hoses if necessary to provide consistent moisture to your plants.
Benefits of a DIY Irrigation System:
Water Conservation: Drip irrigation delivers water directly to the root zone, reducing water waste compared to traditional sprinklers.
Consistent Watering: Automated systems ensure plants are watered at the right time and with the right amount, preventing over or underwatering.
Convenience: Set it and forget it! Your plants will receive consistent care without the need for daily attention.
Cost-Effective: Building a DIY system is much cheaper than purchasing a pre-made irrigation system and can be customized to fit your needs.
Tips for Success:
Regular Maintenance: Check your system regularly for clogs or leaks, and clean emitters or hoses to ensure optimal performance.
Watering Needs: Adjust your irrigation system as needed based on the season and weather conditions. Outdoor plants may need more water in the summer and less in the winter.
Customization: For more precise control, consider using a smart irrigation controller, which can be connected to weather data or linked to your phone for remote adjustments.
